




























- Copyright © 2026 Staffordshire Archaeological & Historical Society. Registered Charity No. 500586
- website by Beachshore
Acton Trussell excavation
Excavations plates
-
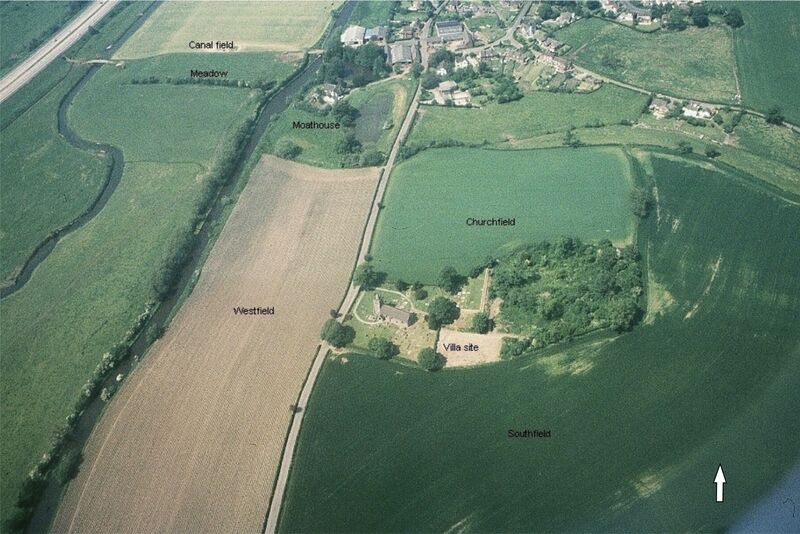
 Plate 1. Aerial photo. The church is bottom left, the village top centre, with “The Moathouse” the site of the Trussell manor house, to its left.
 -
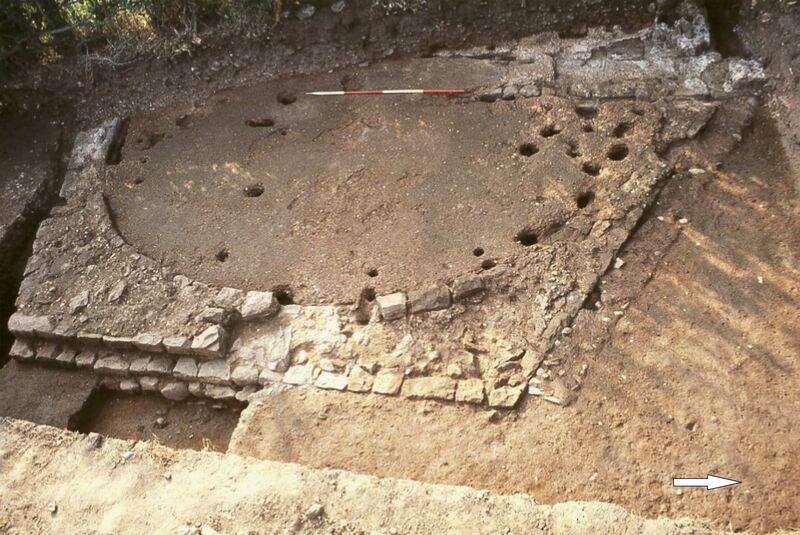
 Plate 2. The apsidal wing, note the floor laid over the north (right) wall, the new foundation on right side (north), and the stakeholes, centre, inserted into already robbed walling.
 -
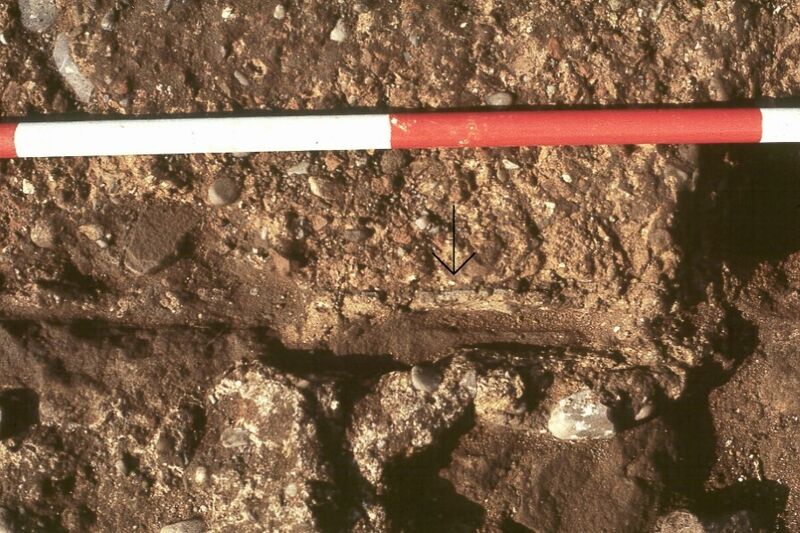
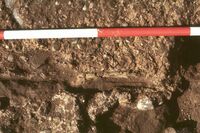 Plate 3. Painted plaster sandwiched between wall and floor. part surviving top course of stonework on walls A, B, and E, was of a different colour and texture to that below.
 -
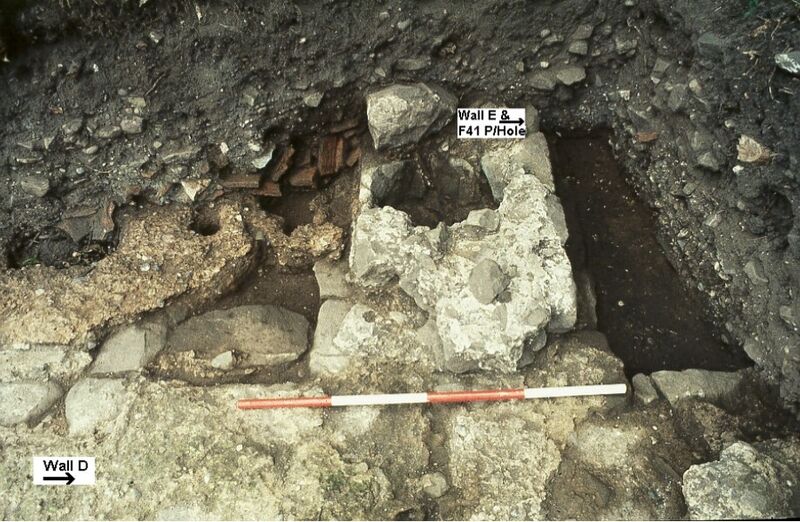
 Plate 4. The stonework built around F41 post. Immediately to the left of F41 flue tile debris can be seen.
 -
 Plate 5. Wall D, running from bottom to top, became a sleeper after the construction of the wing, note the ghost of the arch across the wall, centre of photo, and the extra walling either side to strengthen the base of the arch.
 -
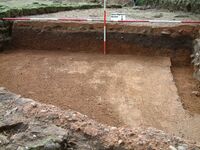 Plate 6. The sectioned floor. A thin crust at first gave the impression of good condition, however below the surface the concrete was powdery and crumbly. A black ashy deposit immediately below the floor, and against wall D of the 2nd C. villa, echoes the gently sloping ground to the left(east) of the wing. The walls are trench built.
 -
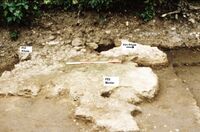 Plate 7. Possible entrance on east wall. The remains of a possible doorway, at the rear two large postholes may be associated with a portico entrance
 -
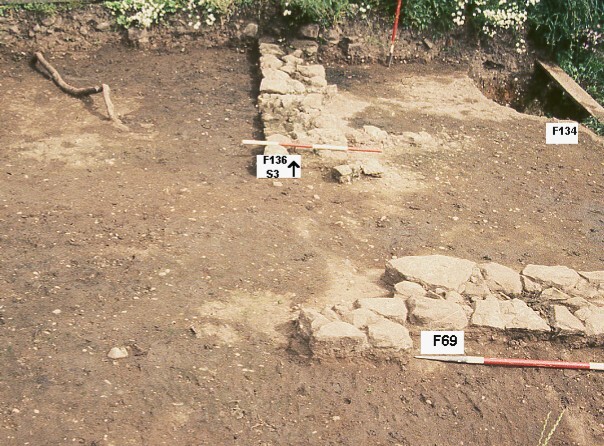
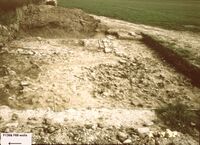 Plate 8. S3, spread of sandstone debris, and just appearing in the background are two sections of walling
 -
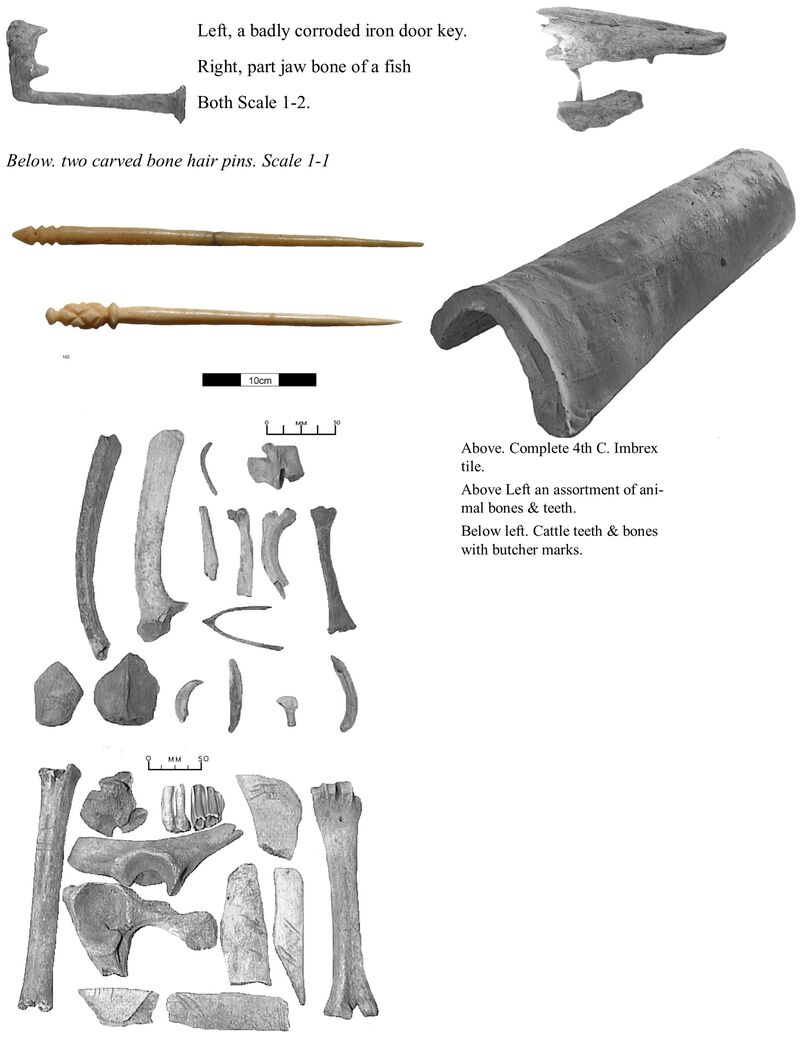
 Plate 9. Artefacts from F134 pit
 -
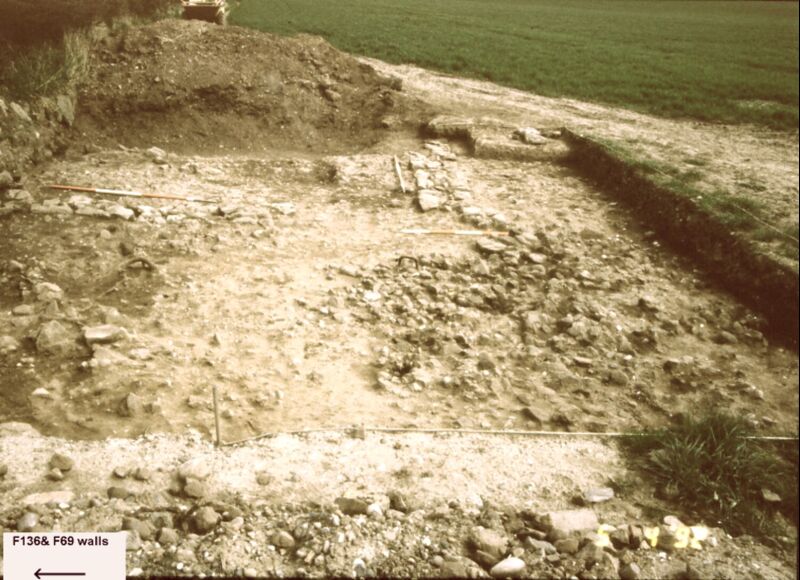
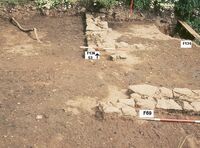 Plate 10. The southwest corner of 4th century enclosure wall, rubbish pit to the right.
 -
 Plate 11. F134 rubbish pit
 -
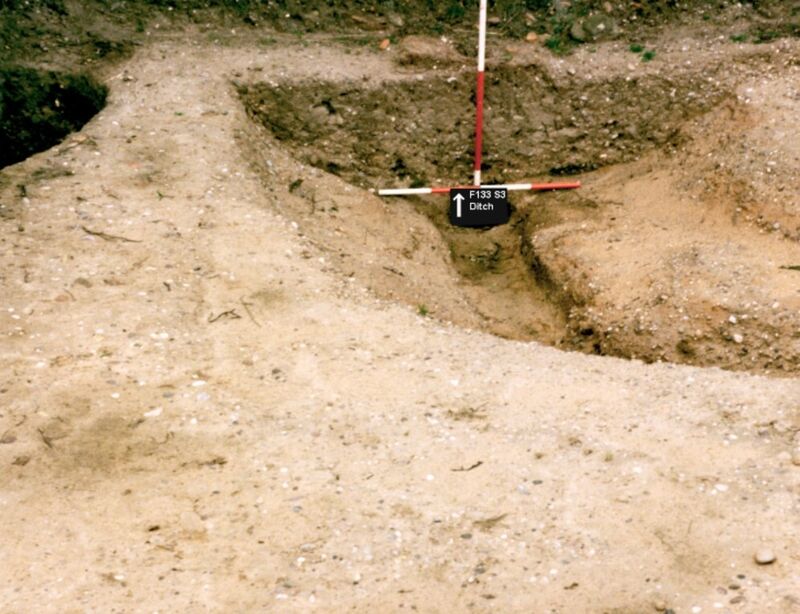
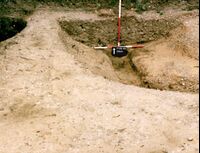 Plate 12. S3, F133 Ditch
 -
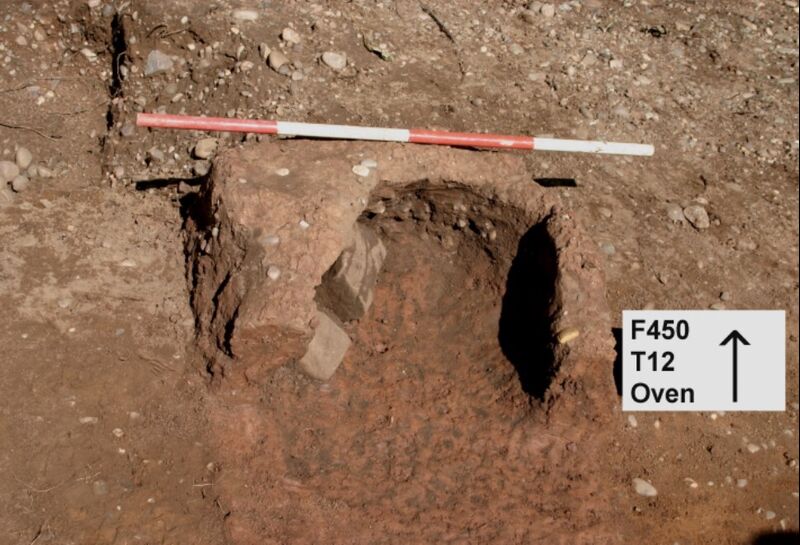
 Plate 13. Trenches 10, 11, & 12. Post holes following the line of ditch F133, a further posthole is present under the far baulk, total length is 17m. The oven is top centre.
 -
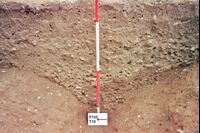 Plate 14. T10, homogeneous deliberate fill of the ditch F133.
 -
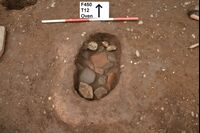 Plate 15. Bread Oven
 -
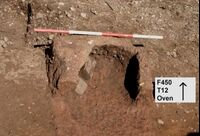 Plate 16. Oven sectioned
 -
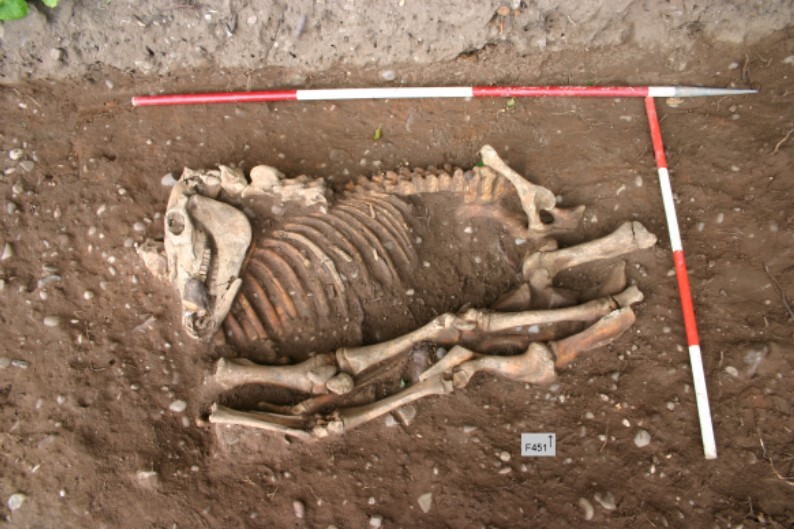
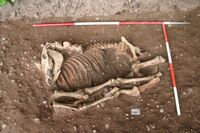 Plate 17. Horse burial, the skeleton as excavated.
 -
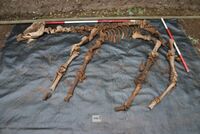 Plate 18. Skeleton reconstructed
 -
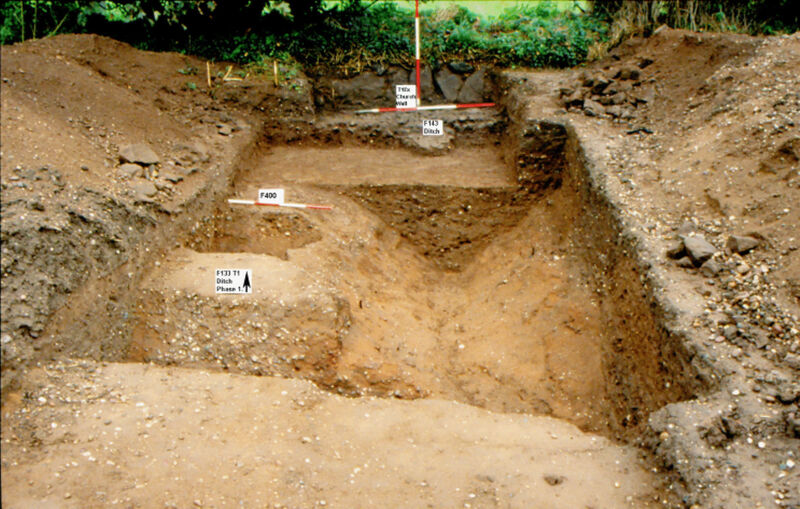
 Plate 19. Trench 1 extension, with 1st C. enclosure ditch F133 coming in from lower left and being cut by 2nd C. ditch F143.The posthole F400 centre left belongs to the 17m long row of postholes in Trenches 10-12
 -
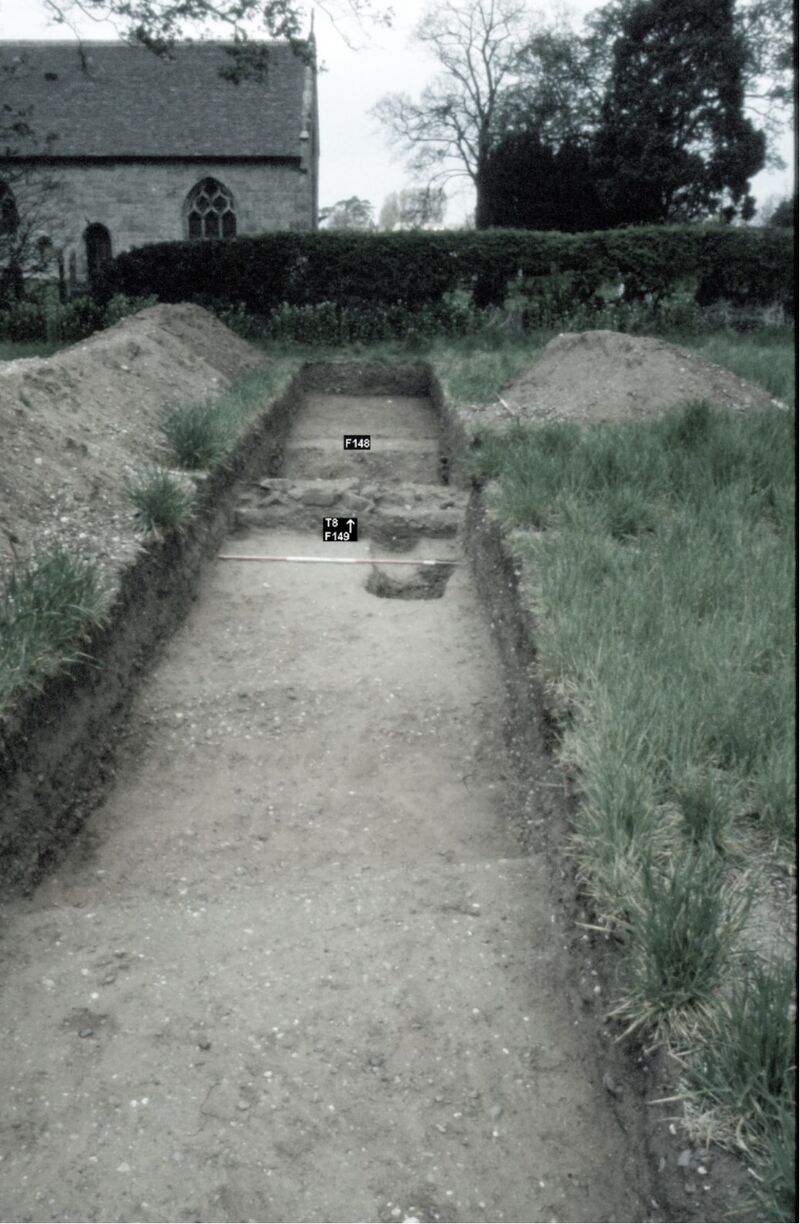
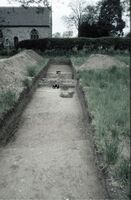 Plate 20. Trench 8 showing ditch F148, wall remains F149 and the drain running through both. The shallow ditch in the foreground, which showed on the resistivity scan, is probably Iron Age.
 -
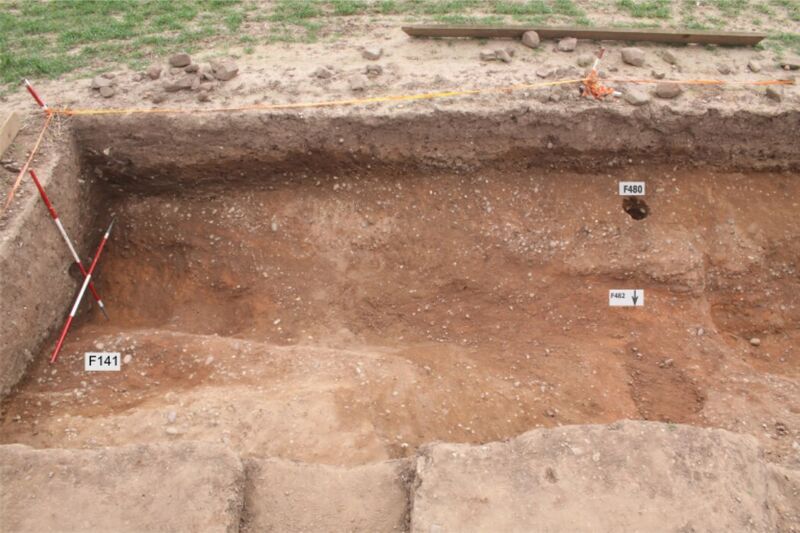
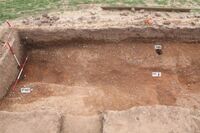 Plate 21. T16. The ditch F141 & F148 left and right of the trench with the entrance F482 centre. F480, a posthole in the entrance, contained only clean fill.
 -
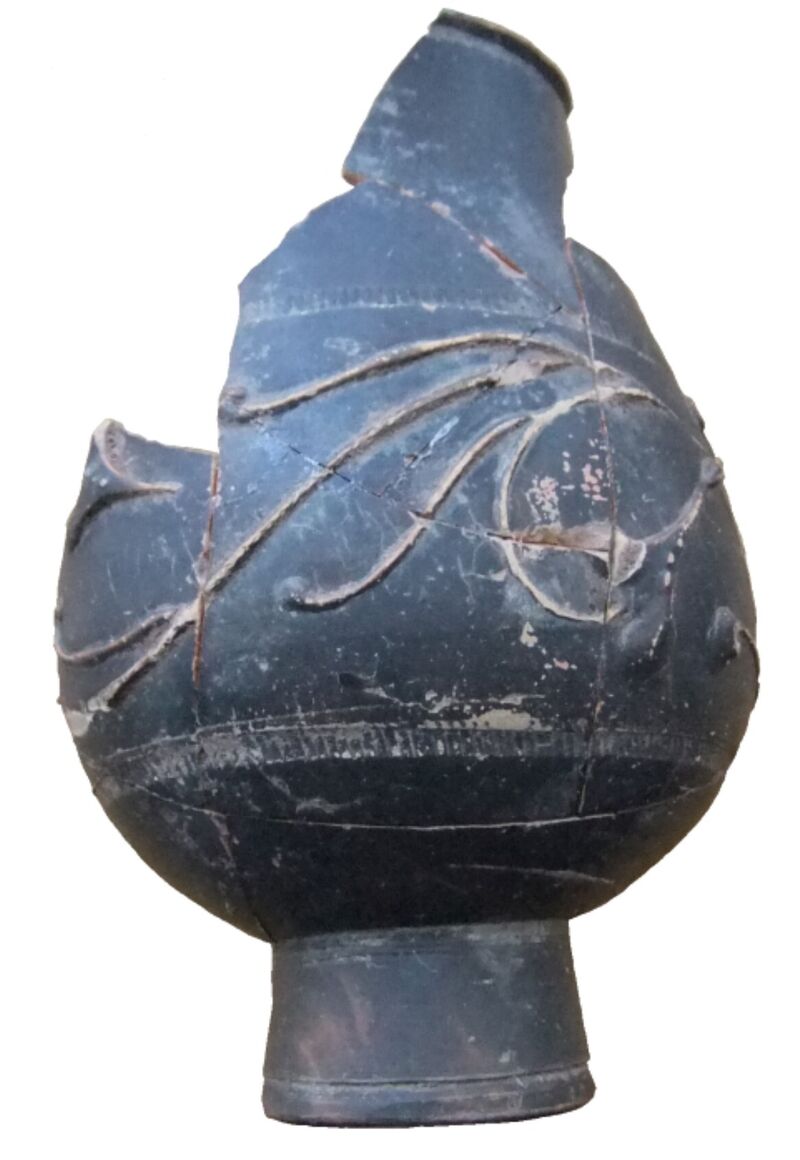
 Plate 22. Black Slipped Beaker Black Slipped Beaker from Lezoux Central Gaul. Recovered from the repair debris of the enclosure entrance. 11.8cm high 7.6cm diameter.
 -
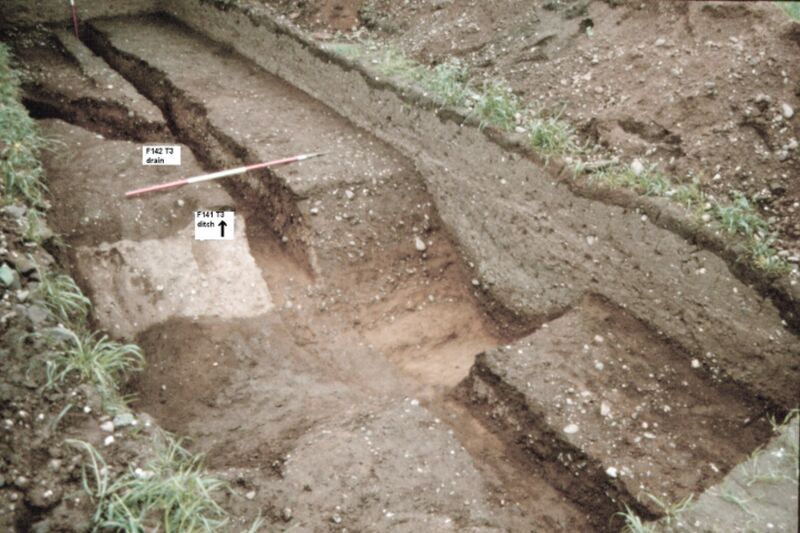
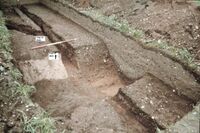 Plate 23. Trench 3. The 2nd C. ditch F141, cut by the 4th C. drain F142, a branch drain, coming in from the left, which almost certainly connects to F63 in S4.
 -
 Plate 24. The fill of the ditch in trench 17
 -
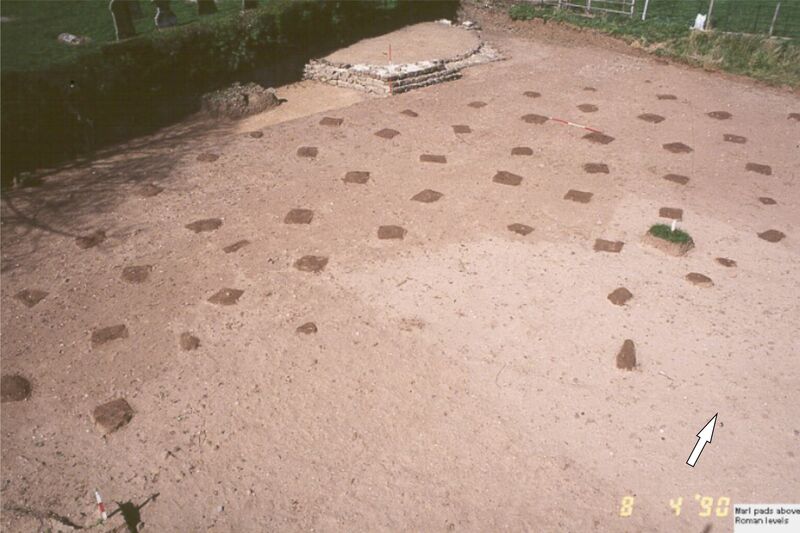
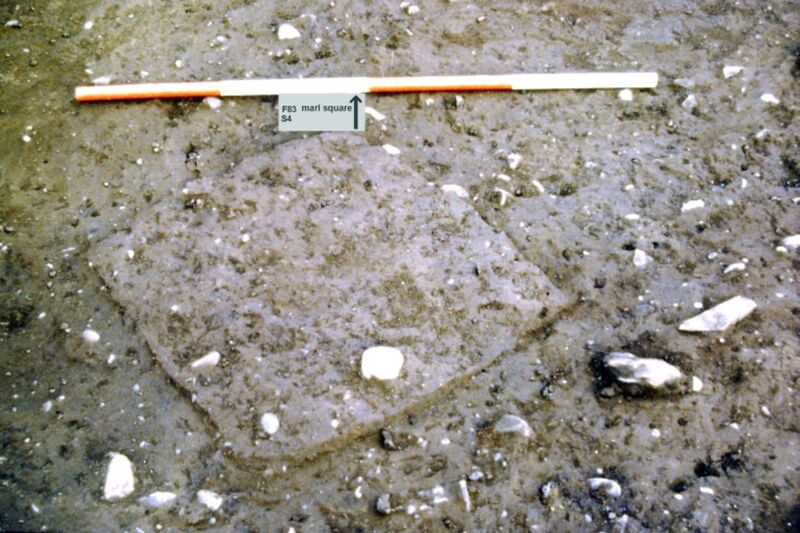
 Plate 25. The marl squares looking north-east with the villa wing top centre
 -
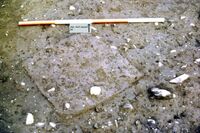 Plate 26. Close up of marl square
 -
 Plate 27. Marl square sitting over the mid-4th century mortar mixing pit which has been cut by the late 4th century drain.
 -
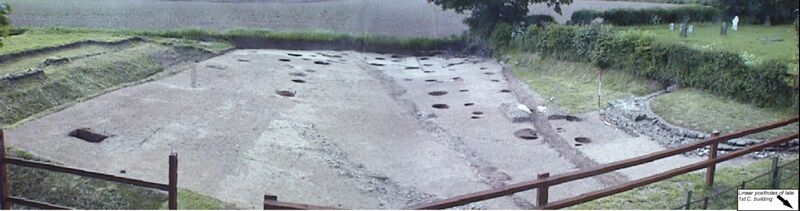
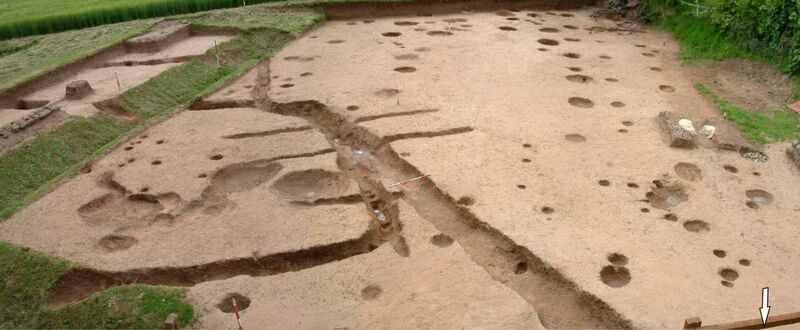
 Plate 28. The post holes of a late 1st century building. The wing is far right, ditched enclosure left and bottom left. The late 3rd to 4th century drain cutting through the mortar mixing pit is to the left of the wing, the dark linear stain running diagonally from centre bottom is the first view of Iron Age features, a further light trowel revealed further post holes and other features. See Plate 30
 -
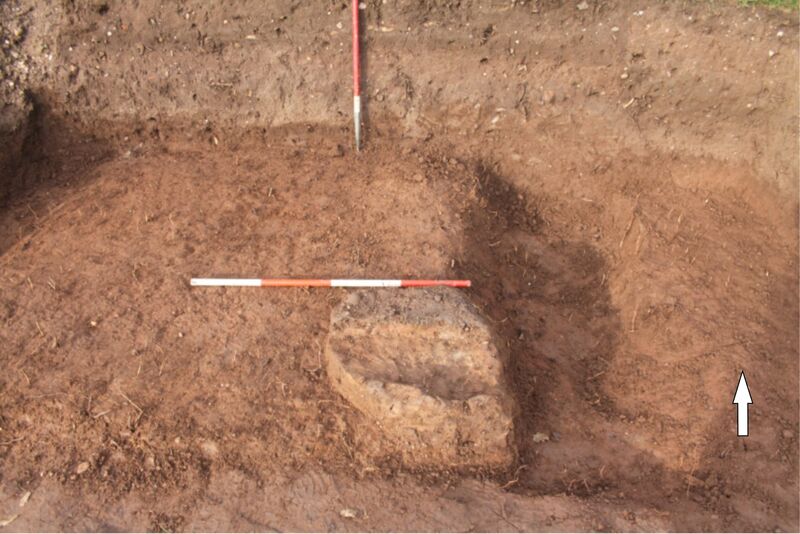
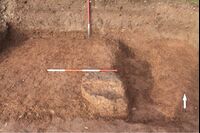 Plate 29. The remains of one of the 3 possible ovens
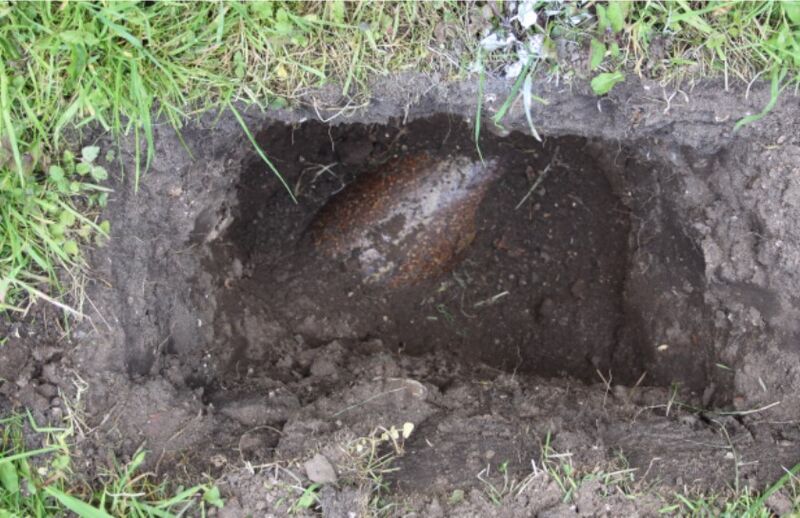
 -
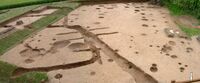 Plate 30. The Iron Age gullies and postholes looking south. The timber building is now almost lost amongst the numerous earlier postholes. The much later 4th century mortar pit is centre right. left in situ for reference.
 -
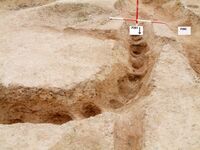 Plate 31. The late Iron Age stockade or palisade trench (F261) in S4, looking south-east, with the post impressions still clear, crossing the earlier gully F263
 -
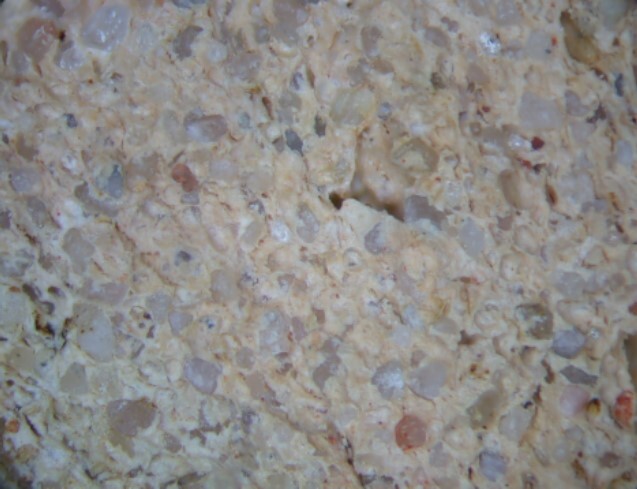
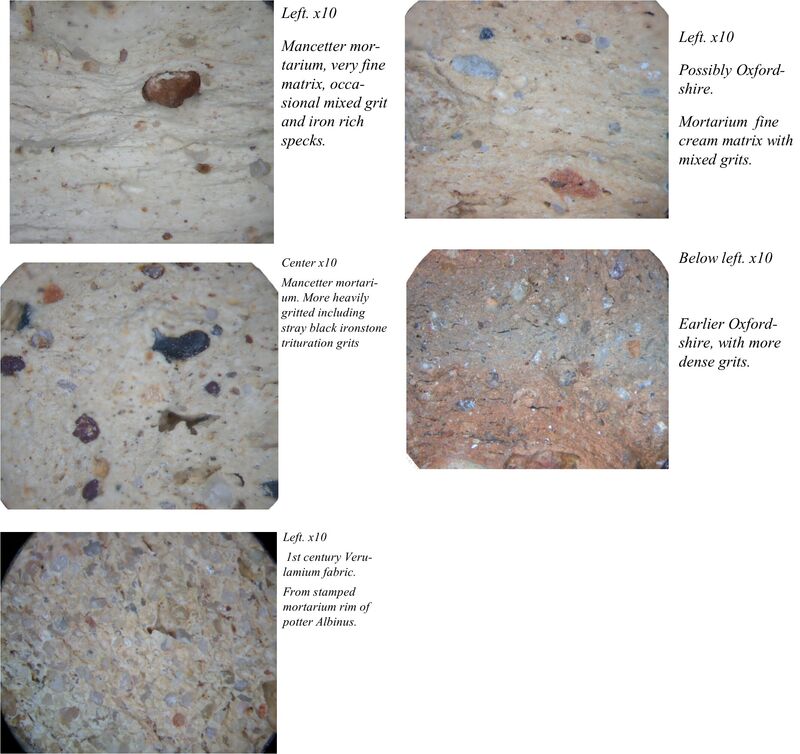
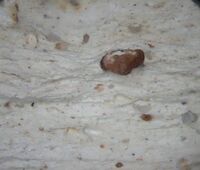 Plate 32. Typical fabric of the Mancetter/Hartshill kilns, smooth white matrix with rare grits and iron rich specks
 -
 Plate 33. Verulamium fabric Easily identifiable fabric of Verulamium. Cream matrix with dense multi coloured grits.
 -
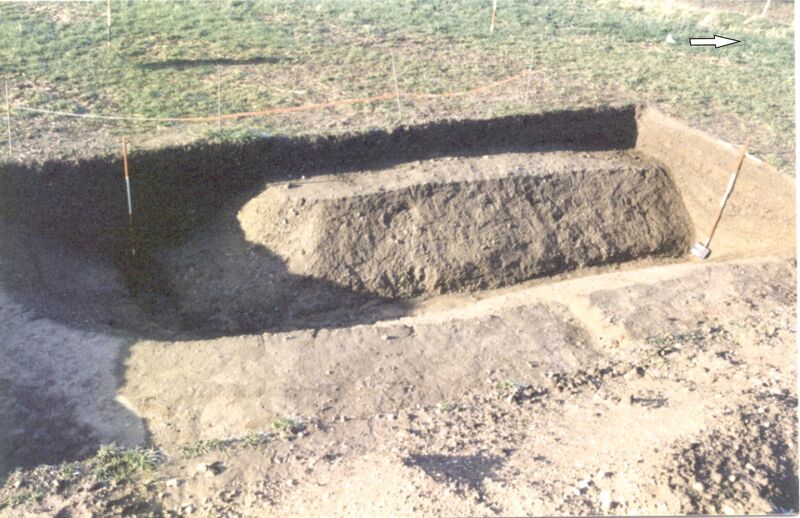
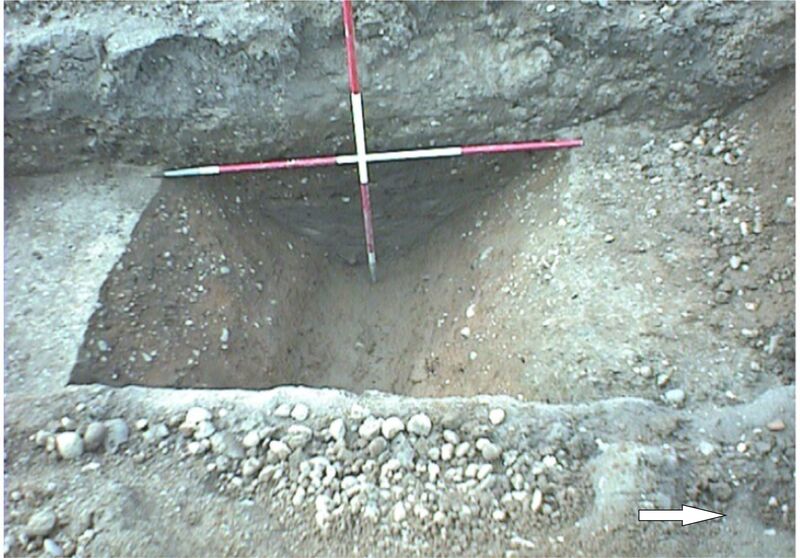
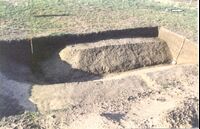 Plate 34. The south-east corner of the 2nd century enclosure ditch in trench 4
 -
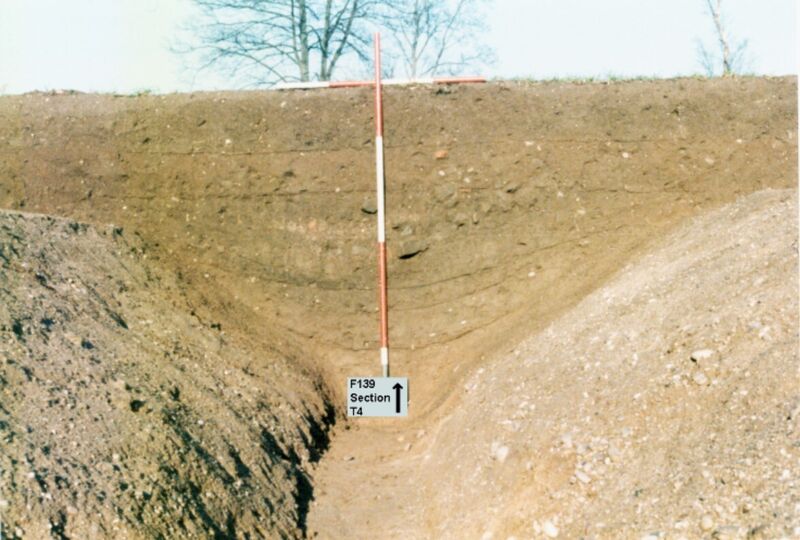
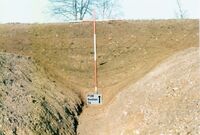 Plate 35. Trench 4, the stratified fill of the ditch F148.
 -
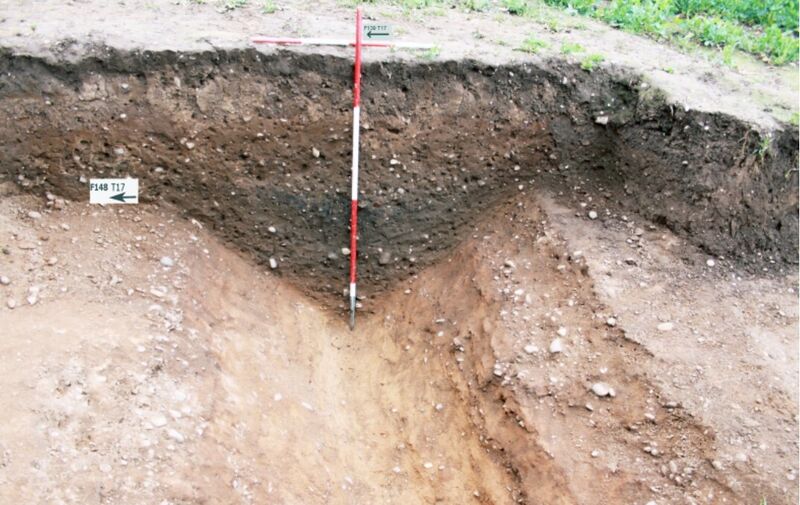
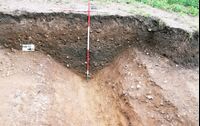 Plate 36. Trench 17, the deliberate fill of the ditch F148
 -
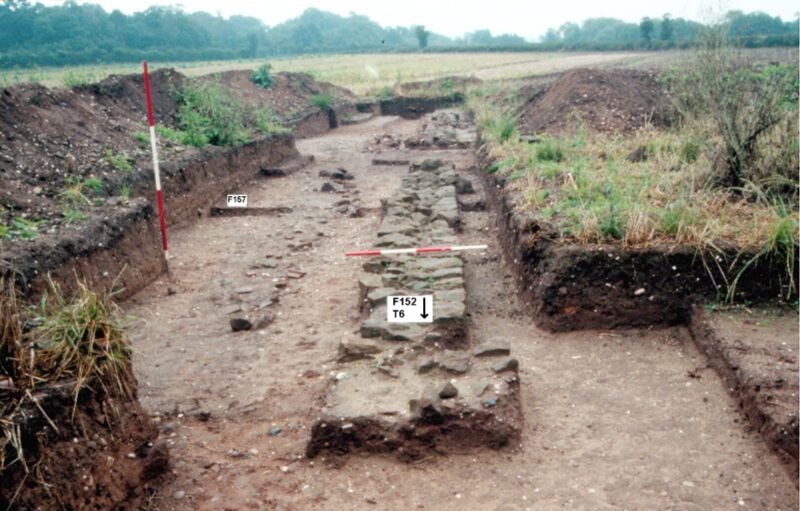
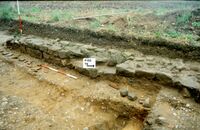 Plate 37. T6. The remains of building F152, with drain F157 and the unexcavated robber trench of the annexe F151
 -
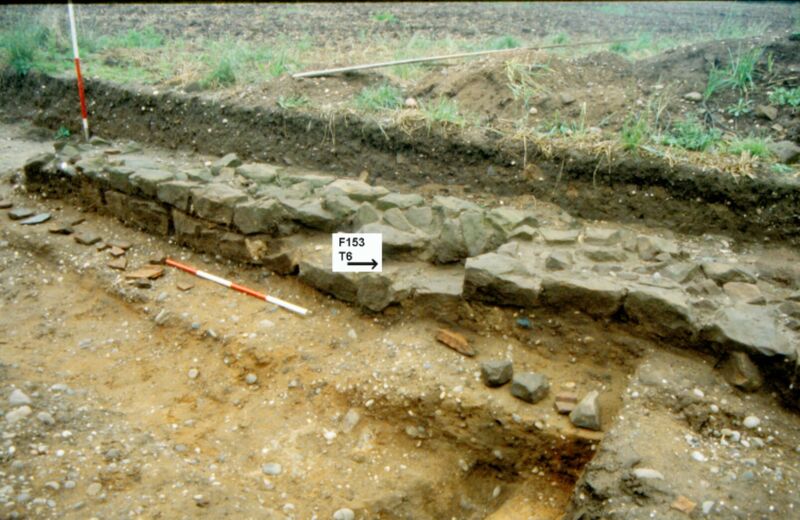
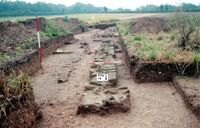 Plate 38. T6, building F153
 -
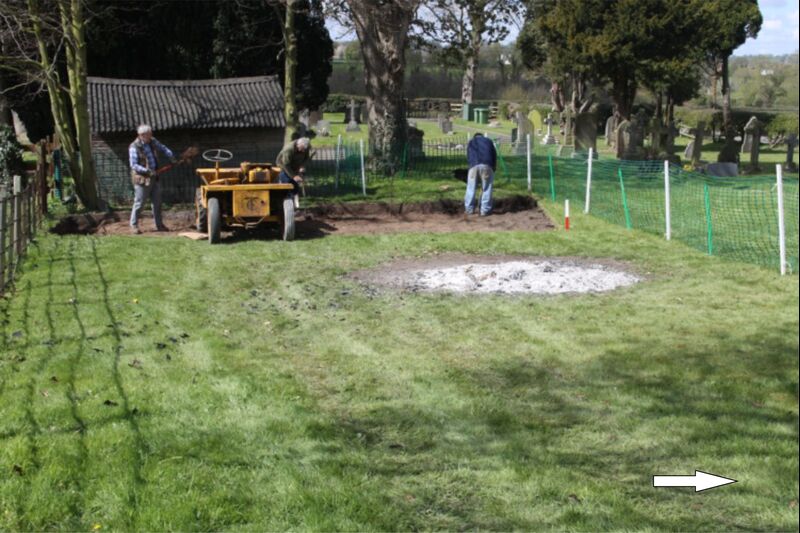
 Plate 39. Preparing the ground in the churchyard
 -
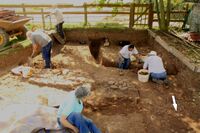 Plate 40. Group excavating in churchyard, T18. The 3rd century enclosure wall can be seen running from above centre left to lower right, top right the 4th century drain continues from section 4 then exits to the left, (west). The Iron Age gully F263, not yet excavated, comes in from section 4 at top left of trench.
 -
 Plate 41. Crop mark of the north-east corner of the third ditched enclosure F200 seen from ground level.
 -
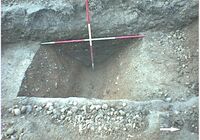 Plate 42. 1 of 2 trial trenches excavated over crop mark of 3rd enclosure F200
 -
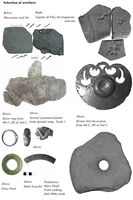 Plate 43. Selection of artefacts, scale 1:2
 -
 Plate 44. A selection of spindle whorls, scale 1:2
 -
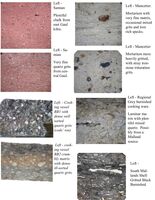 Plate 45. A selection of Roman pottery fabrics, scale 1:2
 -
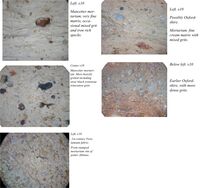 Plate 46. More Roman pottery fabrics, scale 1:2
 -
 Plate 47. Flints Scale 1:1
 -
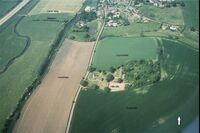 Plate 48. Aerial view of site with field names. St. James Church is in the centre of photo
 -
 Plate 49. Coins 2-19
 -
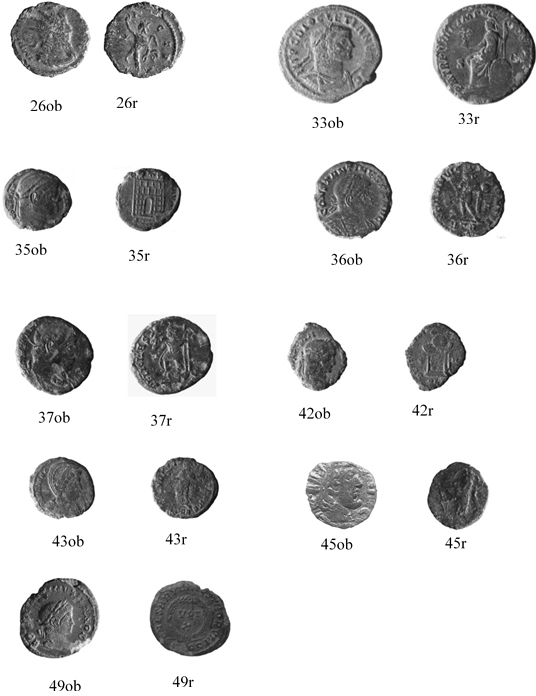
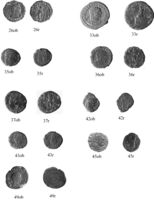 Plate 50. Coins 26- 49
 -
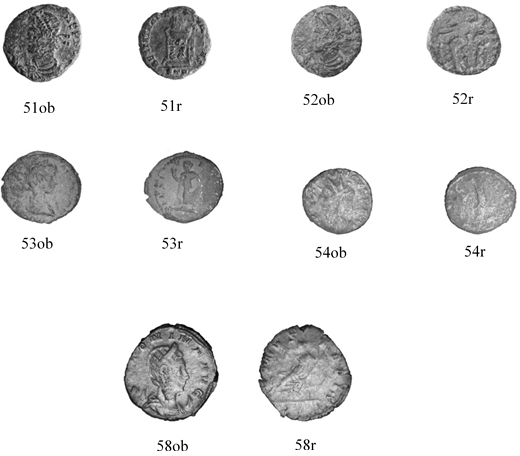
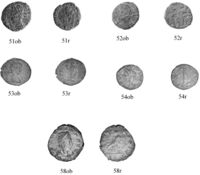 Plate 51. Coins 51- 58
 -
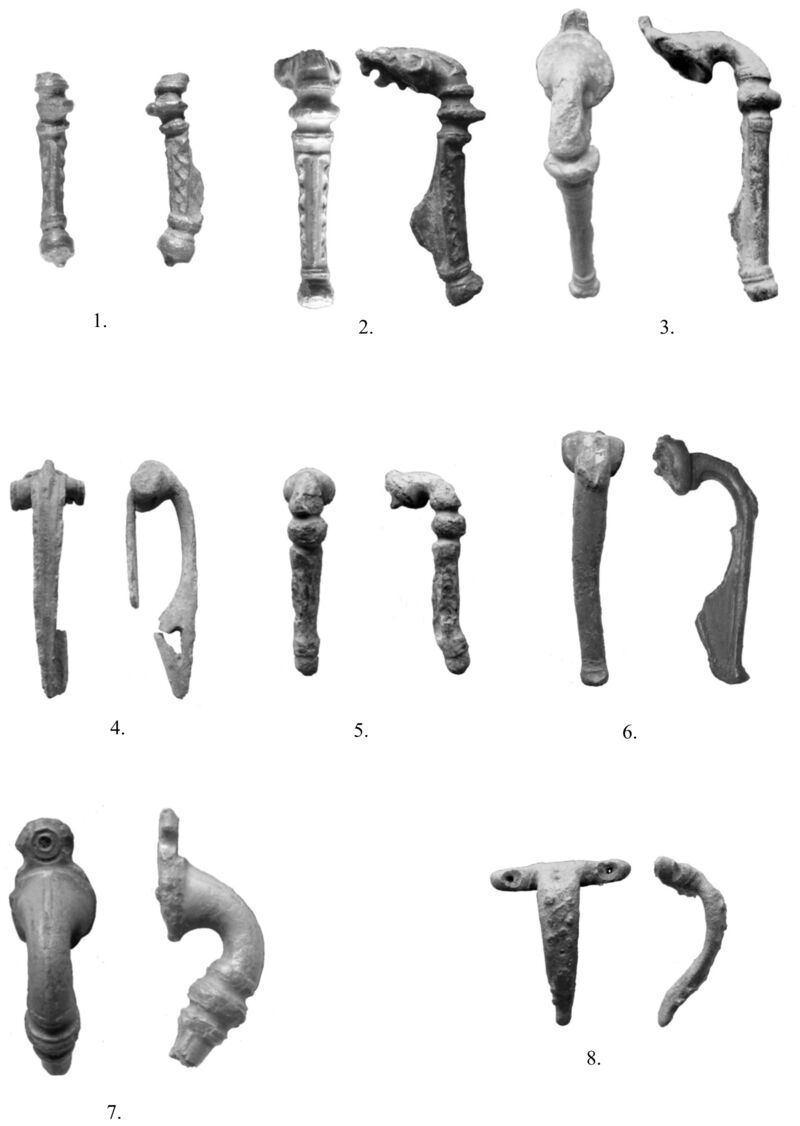
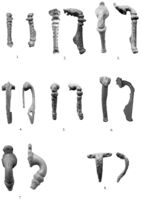 Plate 52. Brooches 1- 8 Scale 1:1
 -
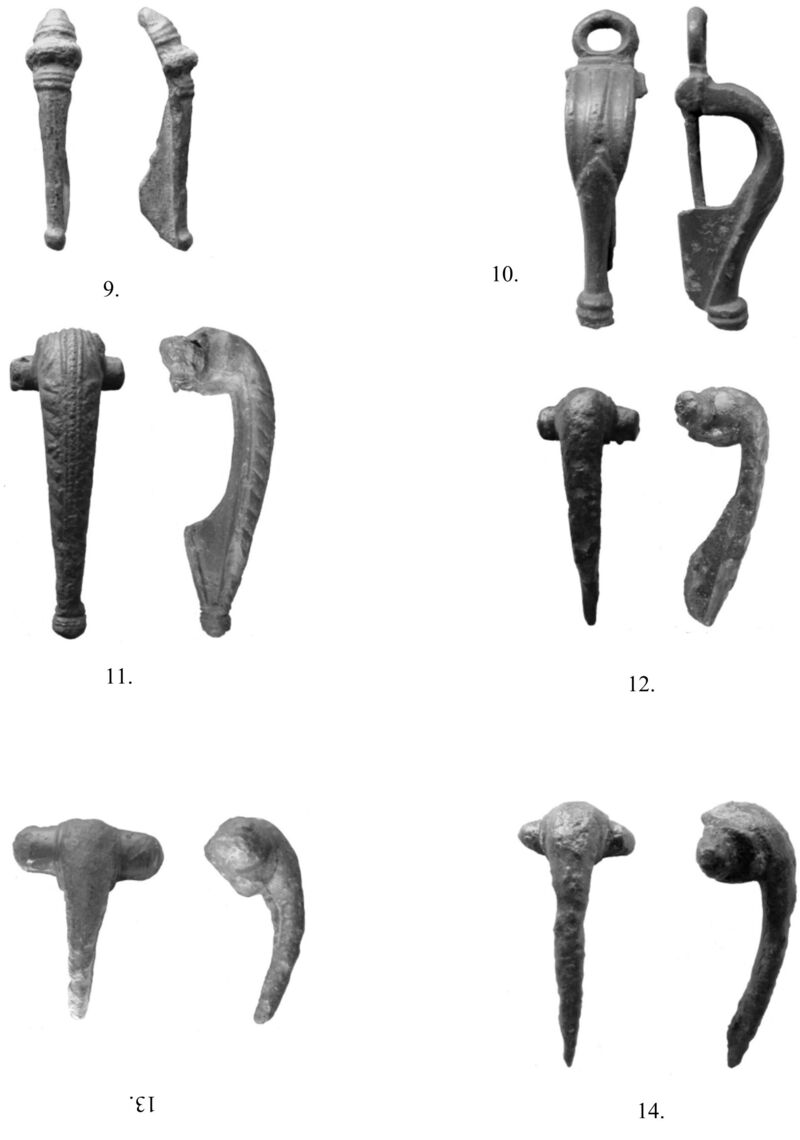
 Plate 53. Brooches 9-14
 -
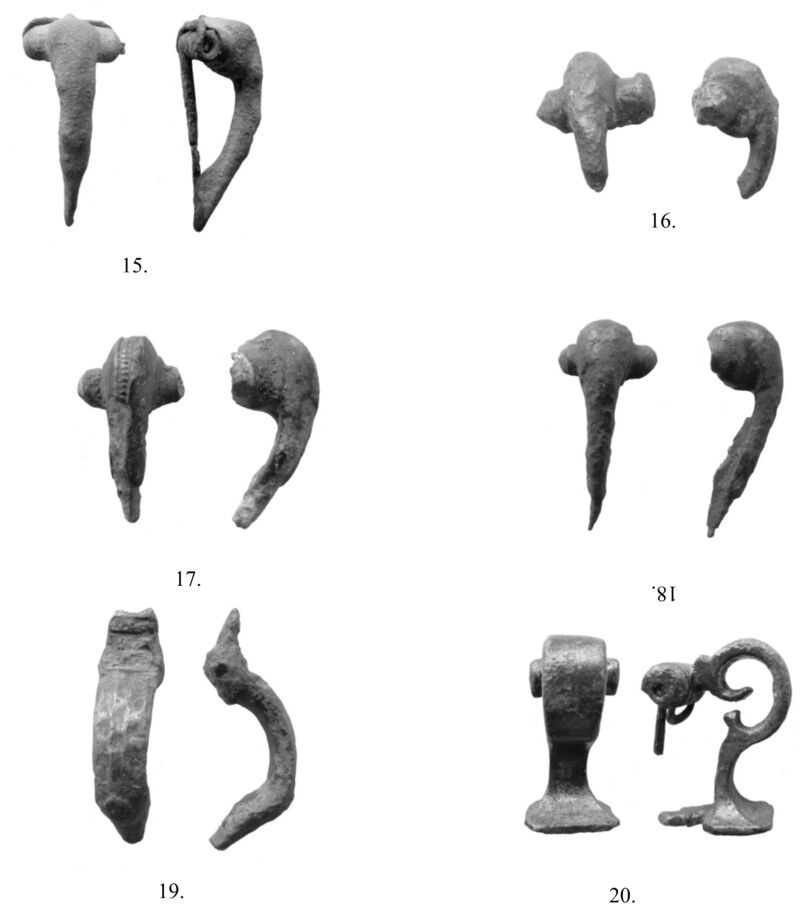
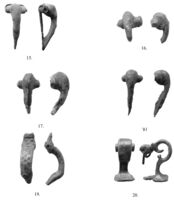 Plate 54. Brooches 15- 20
 -
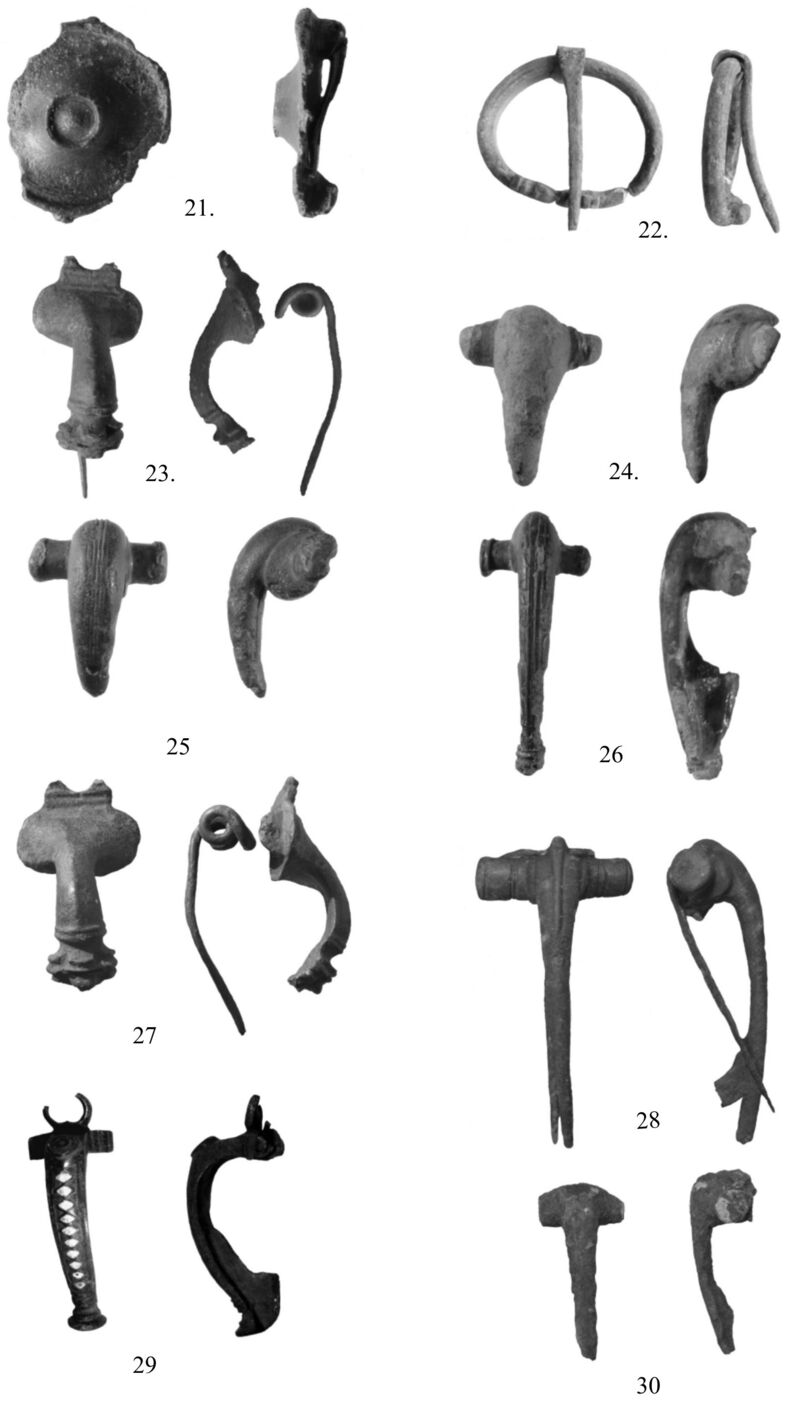
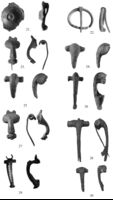 Plate 55. Brooches 21- 30
 -
 Plate 56. Church watching brief
 -
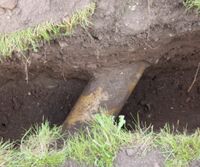 Plate 57. Plates 57 and 58. Examples of drainage pipes, both pipes on the north side of the church. The first running north-east aiming to miss the north-east corner of the vestry, the second running south- west to miss the tower
 -
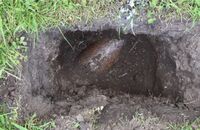 Plate 58. Plates 57 and 58. Examples of drainage pipes, both pipes on the north side of the church. The first running north-east aiming to miss the north-east corner of the vestry, the second running south- west to miss the tower.
 -
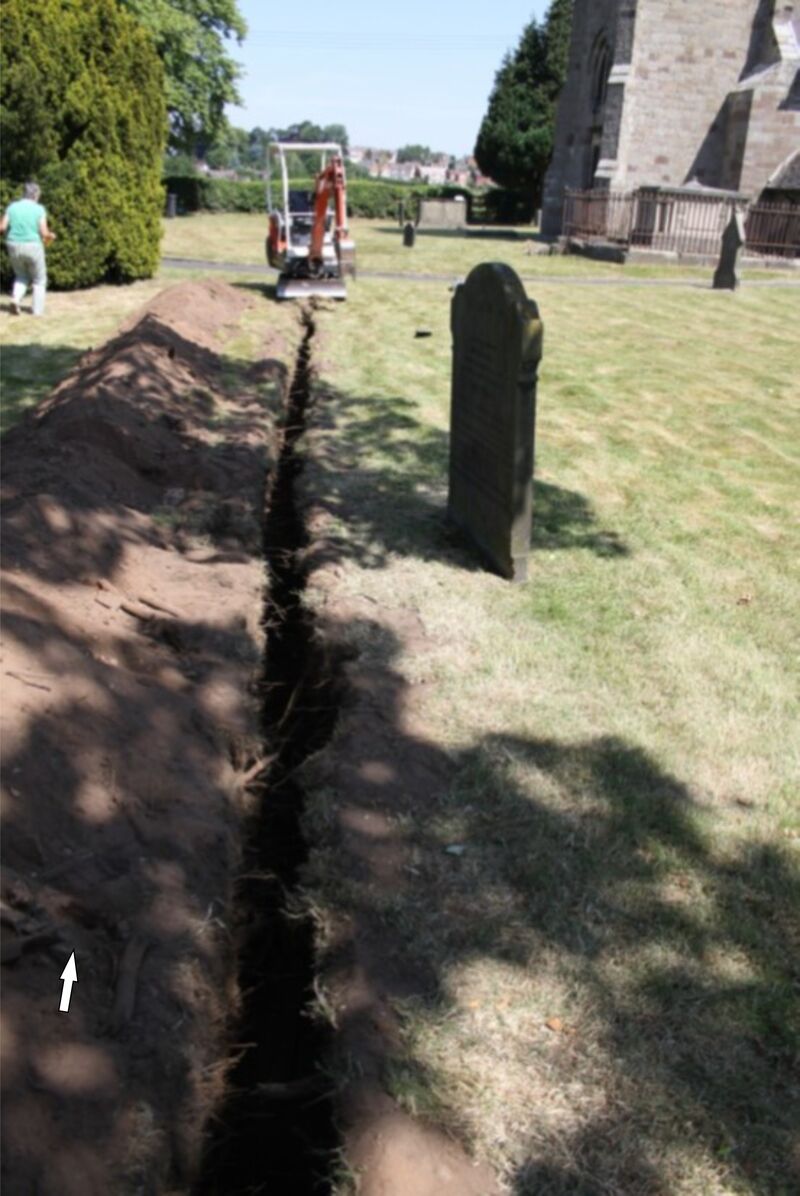
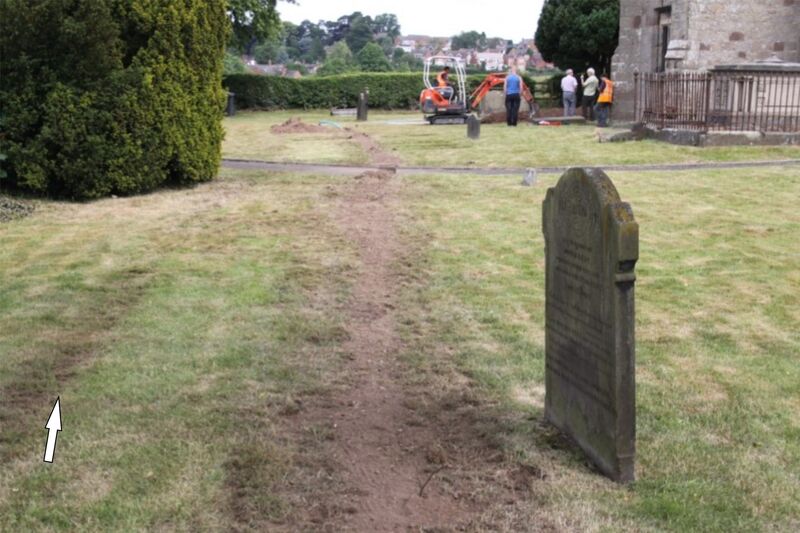
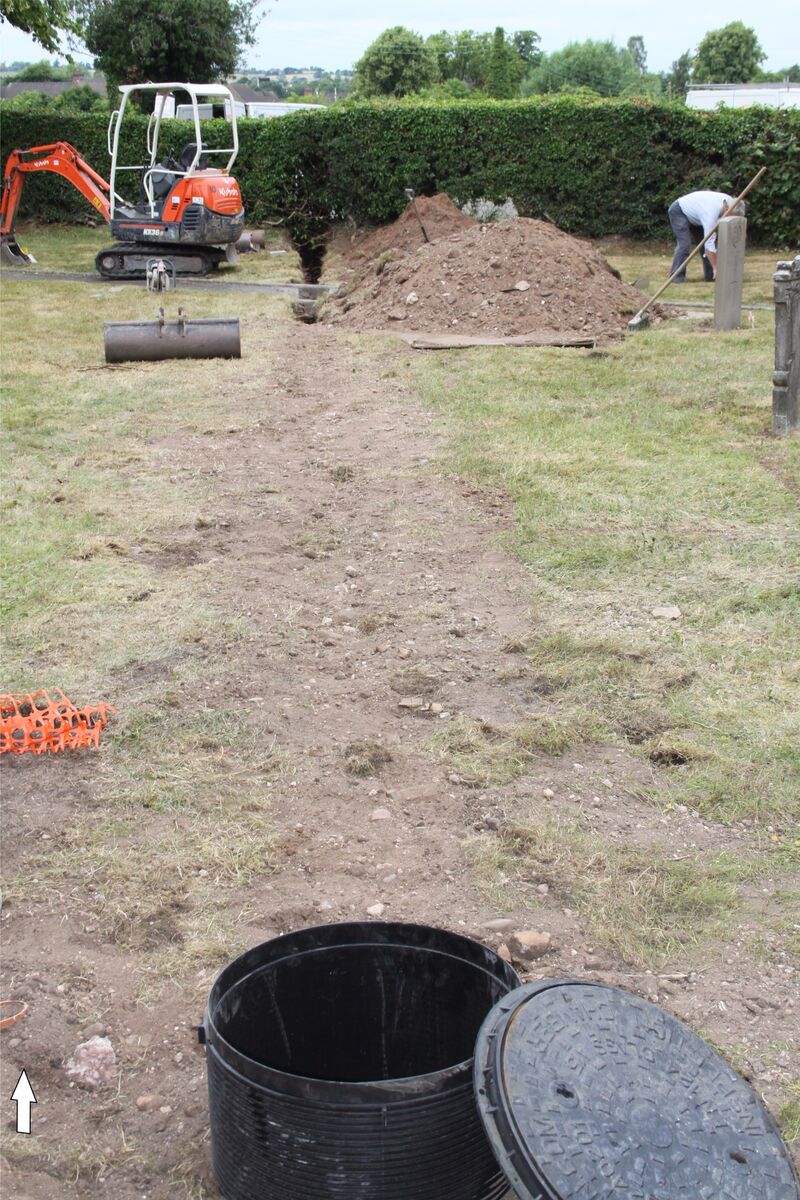
 Plate 59. Plates 59 and 60. Line of water supply trench, Trench 1, from south-west corner of cemetery, open and backfilled.
 -
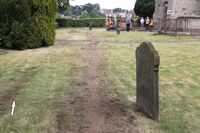 Plate 60. Plates 59 and 60. Line of water supply trench, Trench 1, from south-west corner of cemetery, open and backfilled.
 -
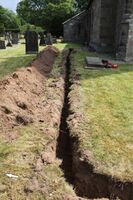 Plate 61. Trench 2. Water supply pipe to Manhole and vestry Trench N0 2.
 -
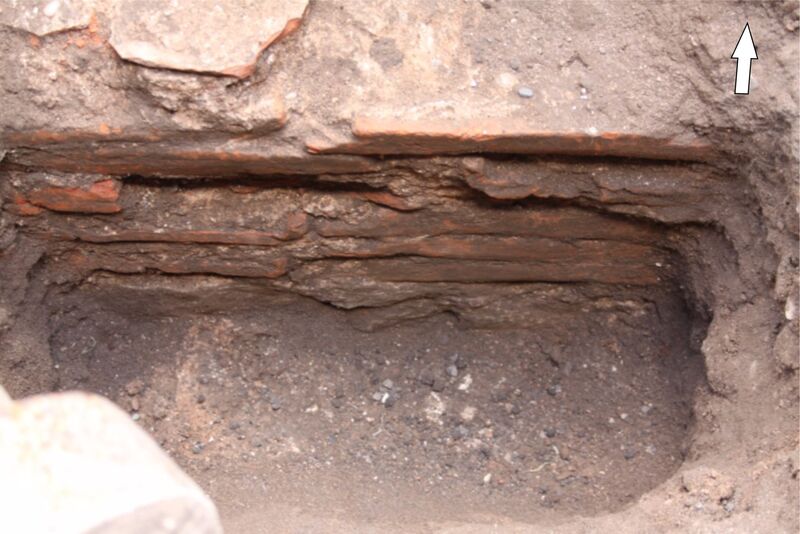
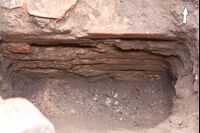 Plate 62. Tegulae wall F4 looking north. It is located below the new manhole, at the junction of trench 3 and trench 2
 -
 Plate 63. Churchyard Trench no 4. for the foul sewer pipe, part filled with manhole. The manhole now sits over the tegulae wall F4
 -
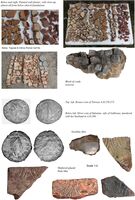 Plate 64. Artefacts from churchyard
 -
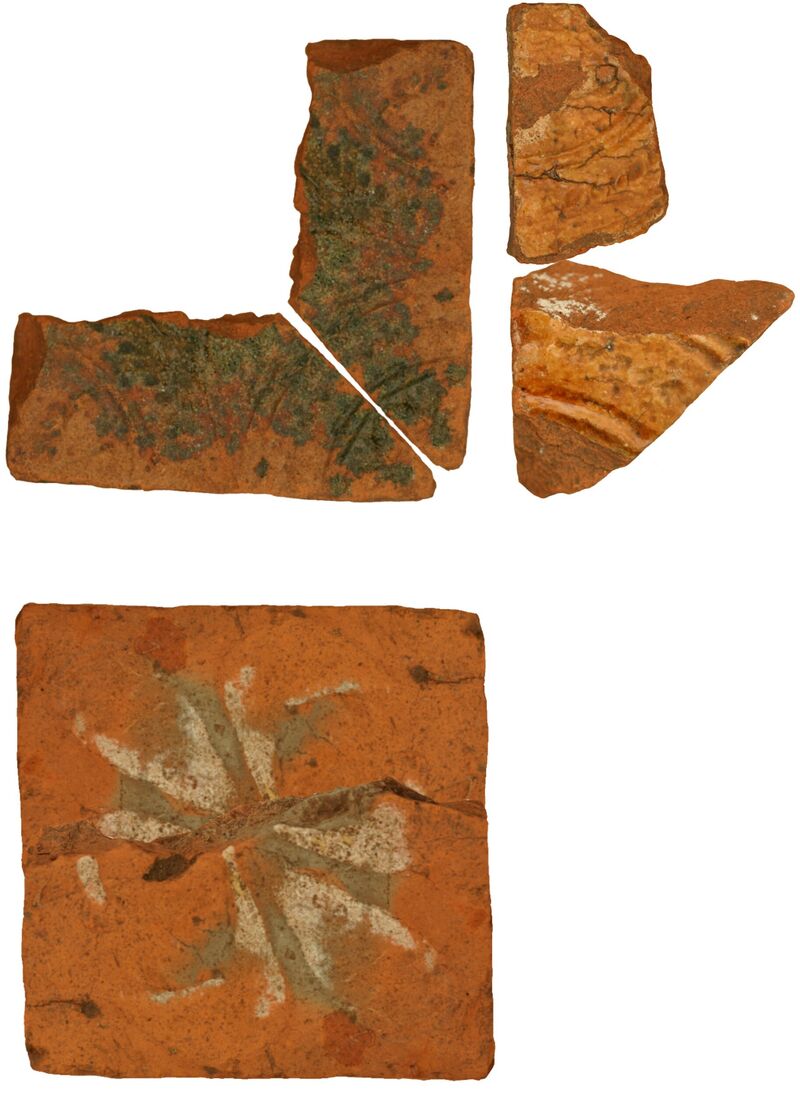
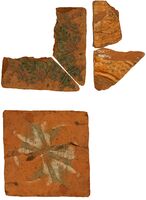 Plate 65. Medieval Floor Tiles. Clockwise from top left: Composite mirror image of part tile, to enhance pattern; Clear glaze on yellow/orange slip, same design; composite mirror image of one half tile to enhance pattern. white and grey slip, no surviving glaze.
 -
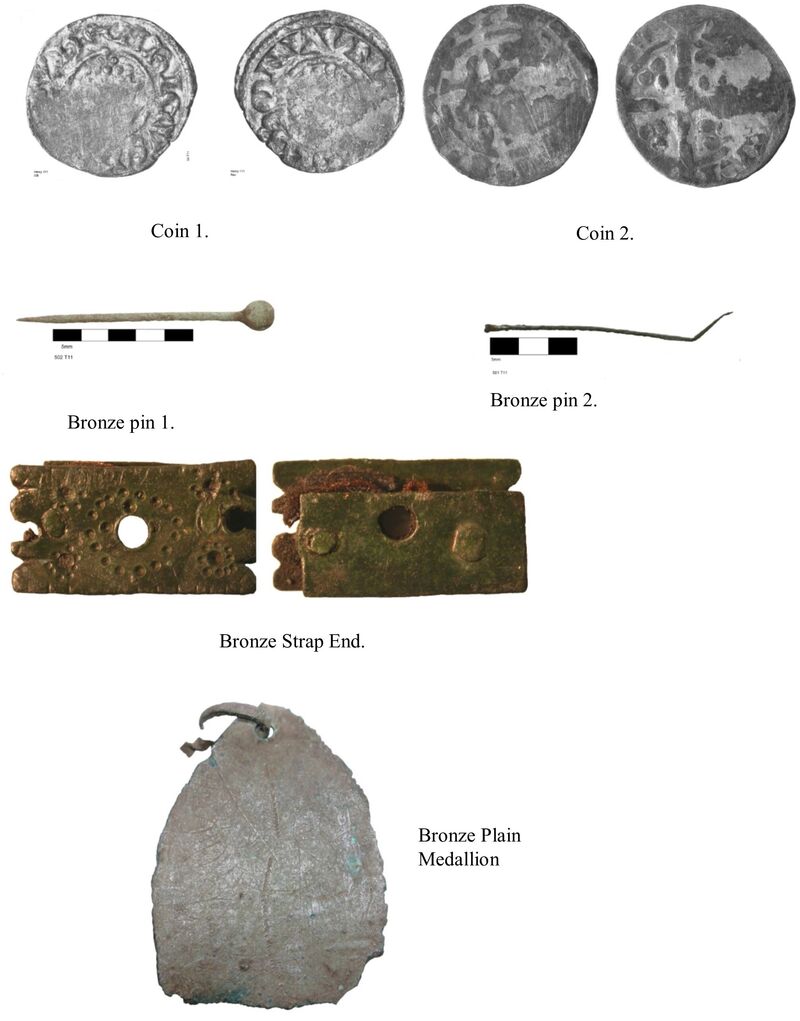
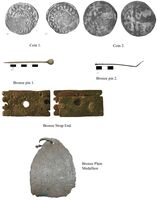 Plate 66. Medieval Artefacts
 -
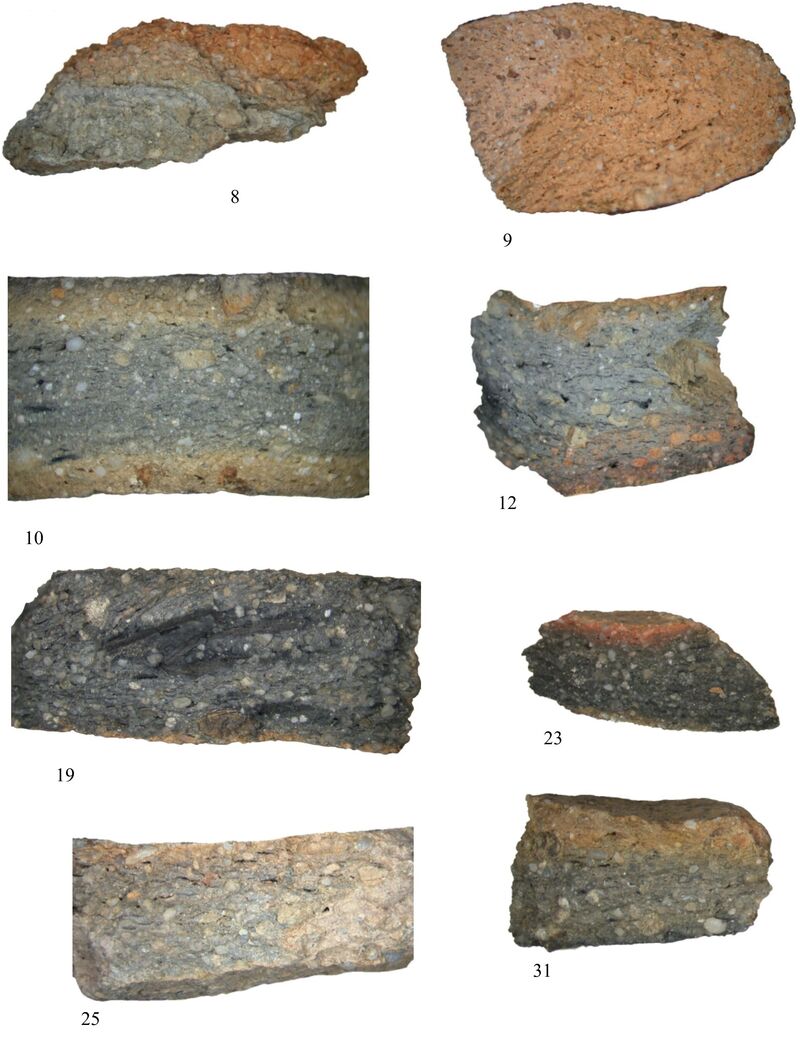
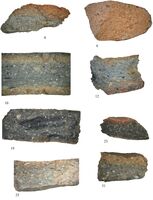 Plate 67. Medieval pot sections Scale 10:1

Website by Beachshore